For this tutorial, you will need the Blood/Splatter brushes I created. You can find them available for download HERE.
There are many ways to create grunge designs. Adding textures are usually the most popular. Adding texture alone, involves many tricks and secrets. This tutorial however, will teach you the basics using the brushes I created. Let’s start.
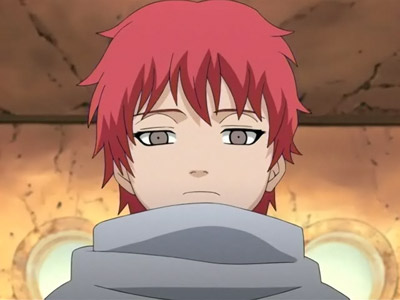
This is the image I will be working on.
Open any image you want to work on. Create a NEW LAYER on top of it and use the FILL TOOL to add a solid color over it. I used Black (#000000) Refer to the screenshot example below.
CLICK HERE TO VIEW SCREENSHOT IMAGE
Create a LAYER MASK on the layer you just filled. I won’t go into depth what a Layer Mask can do here so read the tutorial I wrote for it, but basically on it, you can work on an image without actually damaging (making permanent fixes) to it. After this, we will start brushing.
CLICK HERE TO VIEW SCREENSHOT IMAGE
I am going to use the 7th brush in the Brush/Splatter set. The default size to the Blood 7 Brush I created is 916 px. I make wallpapers with these brushes. For the purpose of smaller graphics, resizing Down is a good idea. Remember, resizing your brushes to be Larger is a BAD IDEA. The resized brushes usually become blurry or pixilated. Resize the Blood 7 Brush down – I did 394 px. Now, on a layer mask, the color white on your palette (#FFFFFF) makes whatever you brush appear and the color black (#000000) makes whatever you brush disappear. (On a Microsoft OS Computer, clicking “D” on your keyboard will set the default color palette colors back to Black and White.) Have your active color black and start brushing randomly. (Be sure you are ON THE LAYER MASK and not the actual image! Click it to be sure before you start.)
CLICK HERE TO VIEW SCREENSHOT IMAGE
If you make a mistake, or want to add more/less of something, just rebrush it using white instead of black. Do not use the erase tool. It will do absolutely nothing. Here’s my result after brushing for a few seconds:
Now create more NEW LAYERS and fill with different colors. Repeat the process of creating Layer Masks and randomly brushing using as many layers and colors as you want, until you are satisfied. Don’t worry about colors clashing. What we do next will negate that. Here is my result after a few layers and seconds of brushing:
It doesn’t matter if the colors clash or look weird. It will just add as nice contrast in what we do next. Create another layer on top of all that brushing you did and FILL in a solid color of your choice. I chose #643516. Next BLEND it to HUE. You can choose your own color and even adjust the Opacity of the blend. Some other suggested blending modes to use are COLOR, SATURATION, SOFT LIGHT, OVERLAY, SCREEN, and PIN LIGHT. It doesn’t matter what you choose as long as you like it, but for this tutorial, I chose to make it duotone. Here’s my result:
CLICK HERE TO VIEW SCREENSHOT IMAGE
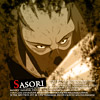
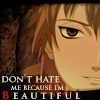
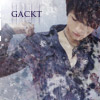
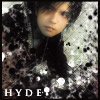
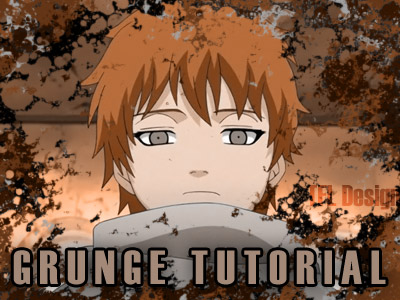
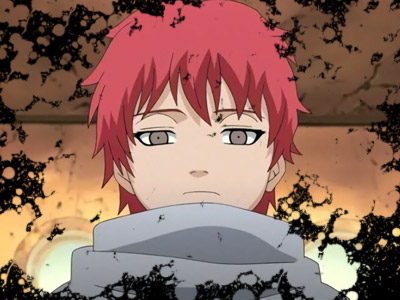
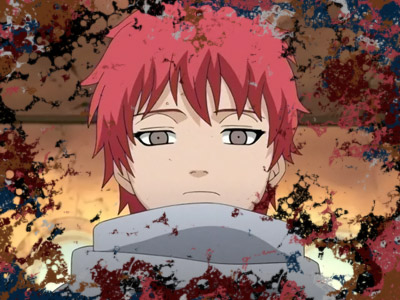
And you’re done! You can experiment using different brushes, in different sizes, etc. The point of grunge is to make it random and as if you weren’t trying to make something that looked industrial. Some other works I made using this technique are shown below. It’s a great technique if you’re too lazy to extract an image. Just throw textures over it! Have Fun!