Before reading this tutorial, please review my Creating Grunge Designs tutorial. We will be using exactly the same methods and same brushes.
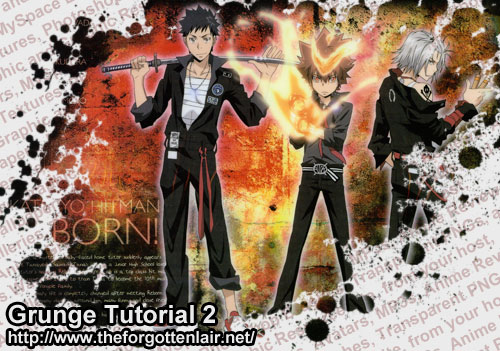
First we have our original image – In order to manipulate a newly opened image, you may need to duplicate the layer (Toolbar > Layer > Duplicate Layer…) since “background” images can’t be touched. Create a LAYER MASK on it and you might want to turn the EYE off on the bottom/background layer.
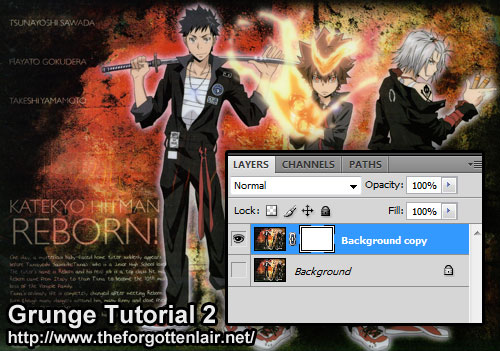
Fill the layer mask BLACK to make everything disappear. You should have a totally blank image. To make it appear again, in grunge style, take the Blood Brushes and brush in WHITE. (Set your brushes to the appropriate size.) And voila, you have your first alternate grunge design.
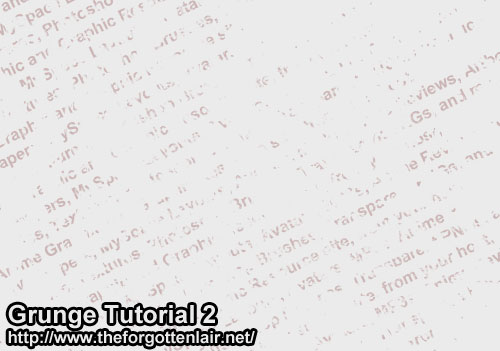
Now let’s say you want to do the same with text. Write out your text, tilt it, flip it, (EDIT > TRANSFORM > ROTATE) whatever. After doing that, set a layer mask on it.
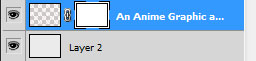
Do the same thing as you did to the image. Fill in black to make everything disappear, then brush with white to make it appear again.
Not that impressive? Let’s add some more text layers then…
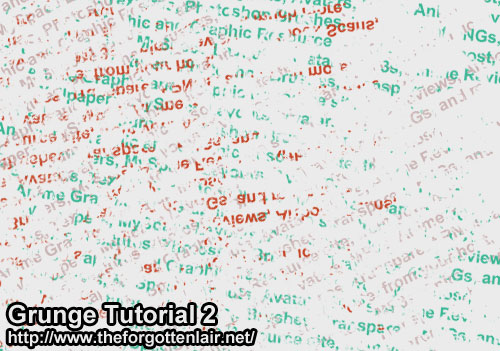
And there we go. Remember that with different brushes, you get different effects. Enjoy!